HousePlantJoy is supported by our audience. When you purchase through one of our links, we may earn a small affiliate commission. As an Amazon Associate I earn from qualifying purchases. Your cost is not affected.
==================
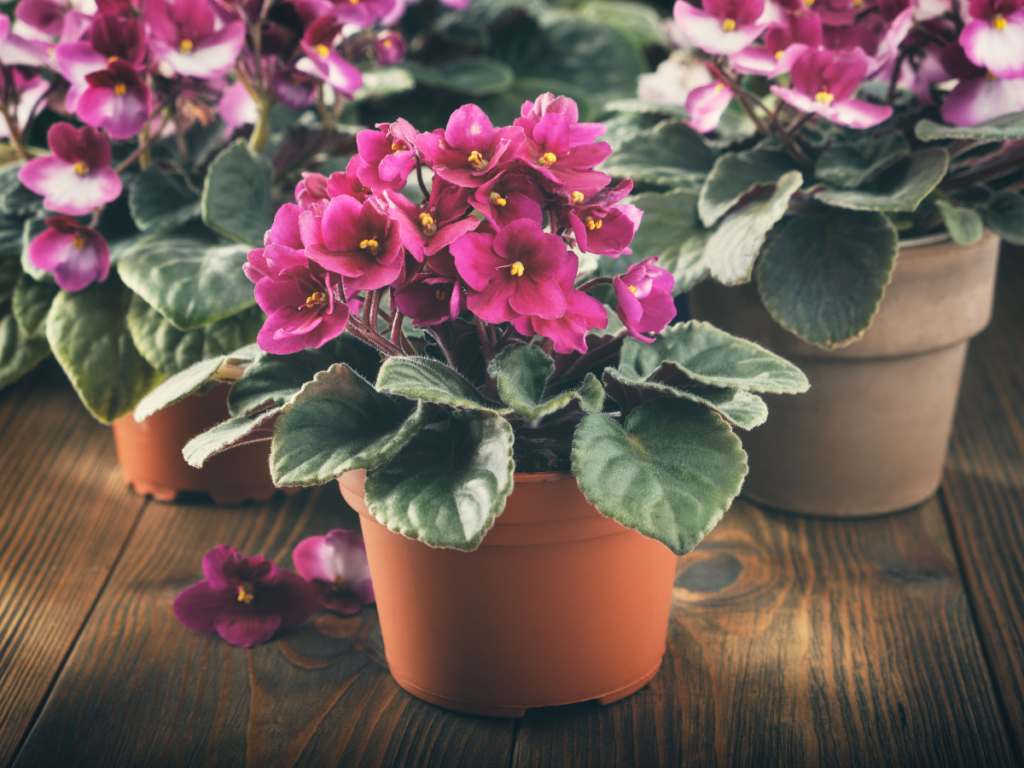
Imagine the joy of propagating your own African violets, turning a single leaf into a beautiful new plant. This guide will walk you through the step-by-step process. We will help you propagate your favorite plants successfully. Now, let’s dive into the fascinating world of propagating African violets and discover how to create more plants from just one leaf.
Key Takeaways
- Choose a healthy leaf for propagation from the middle row of an African violet plant.
- Create a mini greenhouse environment and provide adequate light, air circulation, water, and fertilizer to promote root development.
- Regularly monitor roots and troubleshoot common issues such as rot or weak growth to ensure successful plant growth before transplanting into larger pots.

Choosing the Right Leaf for Propagation
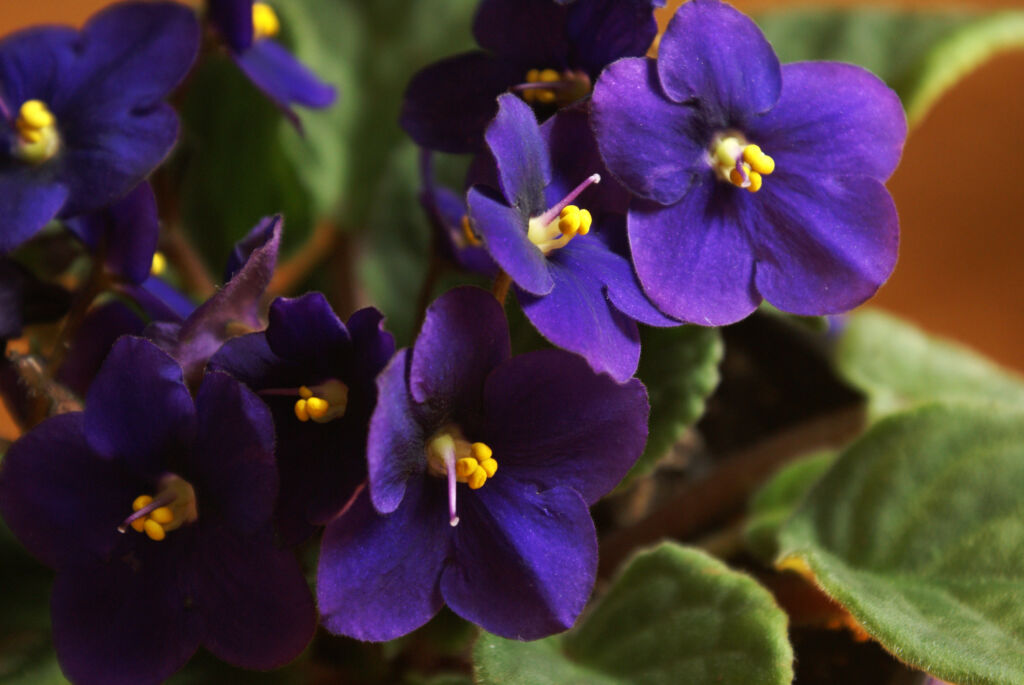
Propagation begins with selecting a healthy, mature African violet leaf from the middle row of your African violet plant. This violet leaf plays a pivotal role in the growth of new plants. Serving as the foundation for healthy plant growth, it will root within weeks.
With the right leaf selected, you’re ready to kickstart the propagation process.
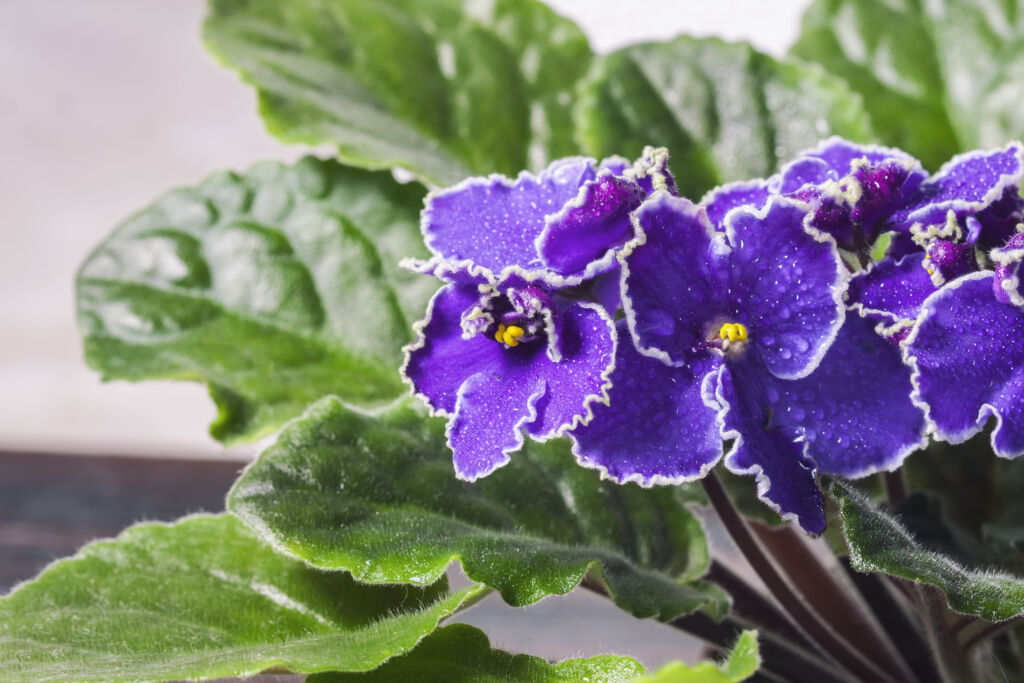
Identifying a Healthy Leaf
A healthy leaf can be recognized by its:
- Firmness
- Absence of blemishes
- Robust stem
- Vibrant color
The leaf should be free of any signs of pests or damage and have a natural or cleanly cut stem, ensuring the health of the leaf stems.
Remember that young leaves are found in the very center of the plant, while older, mature leaves are located on the periphery. Aim to select a parent leaf from the middle row, as these woody stems are more likely to root successfully.
Proper Removal Techniques
When removing the chosen leaf, use a sterilized knife or scissors to cut the leaf as close to the base as possible. This will prevent the transmission of diseases and pathogens to the new cuttings.
Before use, sterilize your tools by immersing them in a disinfectant solution, then thoroughly rinse and dry them.
Hey there, thanks for checking out our post on propagating African Violets! We’ve got some exciting stuff to share with you when it comes to propagation. Please take a peek at the intriguing products we’re recommending. #comissionsearned #ad
Preparing Your Leaf Cuttings
After selecting and detaching a healthy leaf, the next step is to prepare it for propagation. This involves trimming the stem and cleaning the leaf blade to ensure optimal root development and plant growth conditions.
Trimming the Stem
Cut the stem at a 45-degree angle, ensuring it’s about an inch long. This angled cut provides a larger surface area for root development and prevents the stem from rotting.
Make sure to use a sharp knife or scissors for a clean cut. A jagged edge can hinder root formation.
Cleaning the Leaf Blade
Carefully wash the leaf blade with water to eliminate any dirt or debris. This is important to prevent the introducing of diseases or pathogens to the new plant.
Make sure to use fresh, reverse osmosis water or treated tap water at a tepid temperature of about 20 °C (68 °F).
Propagation Methods: Water vs. Soil
The process of propagating African violets primarily relies on two methods: water and soil propagation. Each method has its own advantages and disadvantages. So, it’s important to compare them and determine which one is best suited to propagate African violets.
Water propagation is a simple and straightforward method that involves taking African violet cuttings from an existing African violet.
Water Propagation
In water propagation, the leaf stem is placed in a small container filled with water, which is replaced weekly as you wait for roots to form. This method is simple and allows you to monitor root growth easily.
However, it may not provide the ideal environment for some African violets, and the growth of bacteria in the water can be a concern. If you choose this method, make sure to change the water regularly to prevent bacterial growth.
Soil Propagation
Soil propagation involves positioning the leaf stem in a moist, well-draining growing medium and patiently waiting for roots and plantlets to emerge. This method more closely mimics the natural environment of African violets. It can result in healthier, more robust plants.
However, it can be more challenging to monitor root development in soil. To ensure successful soil propagation, use a well-draining potting mix specifically designed for African violets and maintain consistent moisture levels in the soil.
Creating a Mini Greenhouse Environment
Creating a mini greenhouse environment boosts the chances of successful African violet propagation by fostering root development and plant growth.
By enclosing the potted cuttings and providing the right light and air circulation, you can create conditions that promote healthy growth and development.
Enclosing the Potted Cuttings
Craft a mini greenhouse environment by enclosing your potted cuttings within a clear plastic bag or container, maintaining the humidity. Make sure the leaves of the cuttings do not come into contact with the plastic. This can lead to rot.
Open the container a few times daily for air circulation to prevent mold and mildew growth.
Light and Air Circulation
Expose your mini greenhouse to bright, indirect light. Direct sunlight may damage the delicate cuttings. East-facing natural light or grow lights for 12 hours per day are ideal for African violet propagation.
Occasional ventilation is also important to prevent mold and mildew growth. So make sure to open the container or bag a few times daily to replenish the air.
As a follow-up to our earlier message, we’d like to place extra emphasis on these fantastic products related to African Violets’ propagation. Thanks for your interest! #comissionsearned #ad
Monitoring and Caring for Developing Roots
Vigilant monitoring of developing roots and proper watering and feeding are keys to successful African violet propagation. By regularly checking the progress of the roots and ensuring the growing medium is moist but not soggy, you can encourage healthy root development and plant growth.
Checking Root Development
You can gauge the progress of root development by gently elevating the leaf-cutting or observing it through the container. Healthy roots will appear white or light-colored, firm to the touch, and demonstrate resistance when the cuttings are gently tugged.
Keep in mind that roots may begin to form within days and can reach a length of 1 to 2 inches within a few weeks.
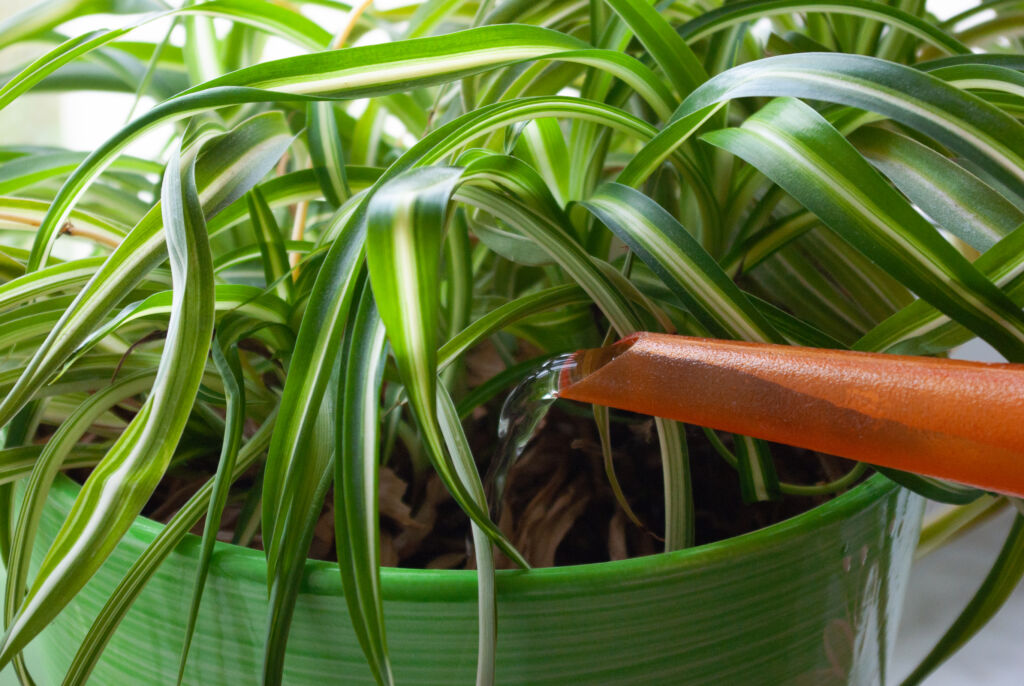
Watering and Feeding
Ensure the growing medium stays moist by hydrating it approximately once per week. But be cautious not to overwater to prevent root rot. Once roots have formed, you can provide a balanced liquid fertilizer at half-strength once a month to support healthy plant growth.
Be sure to use lukewarm water when irrigating your cuttings. Cold water can shock the delicate roots.
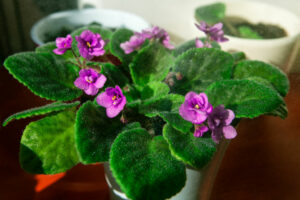
Transplanting Your New African Violet Plants
Once your new African violet plants have developed a robust root system and multiple leaves, they are ready to be relocated into a larger pot to facilitate their ongoing growth.
Proper transplanting techniques are essential to ensure the health and success of your new plants.
When to Transplant
Only proceed with transplanting when your plantlets boast at least 2-3 leaves and a robust root system. This will help ensure the new plants are strong enough to withstand the transplanting process.
If the plantlets are still small or have weak roots, transplanting them prematurely may cause transplant shock and the plants to wilt or die.
Potting Techniques
Utilize a well-draining African violet mix, specifically designed for African violets, during transplanting your new plants. Plant the new violet so that the crown is level with the rim of the pot, ensuring that the root ball is properly covered with fresh soil.
Water your newly transplanted African violet thoroughly and continue to monitor its growth and development as it adjusts to its new environment.
Troubleshooting Common Propagation Issues
The propagation journey may not always be seamless, and common issues might arise along the way.
You can ensure healthy plant growth and successful propagation by addressing these issues and implementing the proper solutions.
Preventing and Treating Rot
Rot can be a major issue during propagation. This is often caused by overwatering. To combat and prevent rot, regulate your watering and promptly remove any affected leaves or plantlets.
Maintaining a proper watering schedule and providing adequate drainage are essential in preventing rot in your African violets.
Encouraging Root Development
To foster root development, keep the environment humid and consider using a rooting hormone if you find it necessary. African violets can root without using a rooting hormone. However, some gardeners find it helpful in promoting root growth.
Be sure to follow the instructions on the rooting hormone packaging if you choose to use one, and always handle it with care.
Strengthening Weak Plant Growth
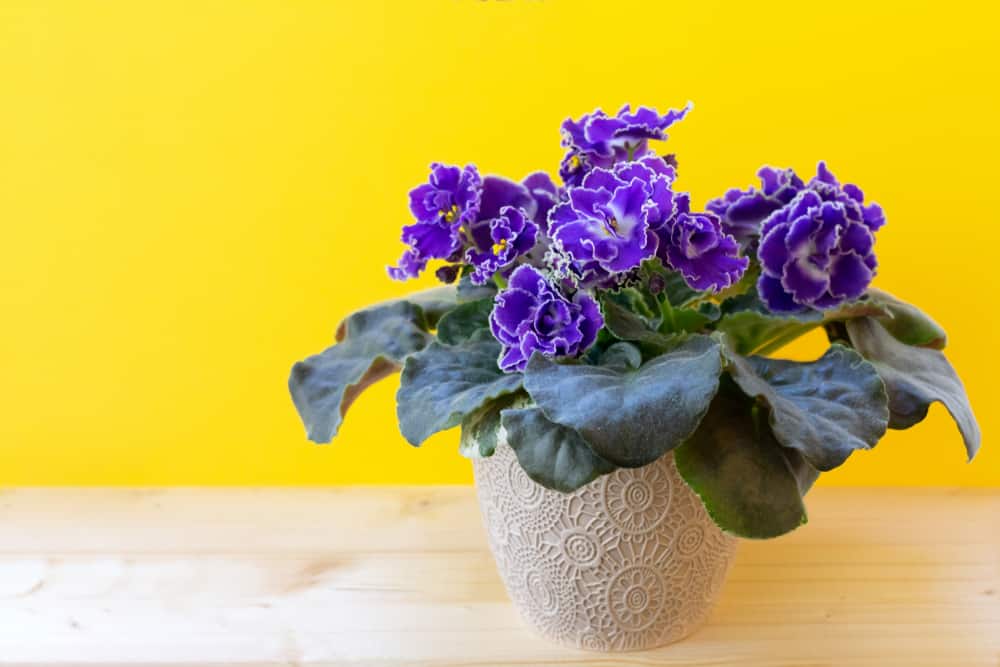
Enhance weak plant growth by ensuring suitable light, temperature, and nutrient conditions. Ensure your African violets receive bright, indirect light and are kept in a temperature range of 60 to 80°F.
Supply your plants with a balanced liquid fertilizer at half-strength once a month to support healthy growth and abundant flowering.
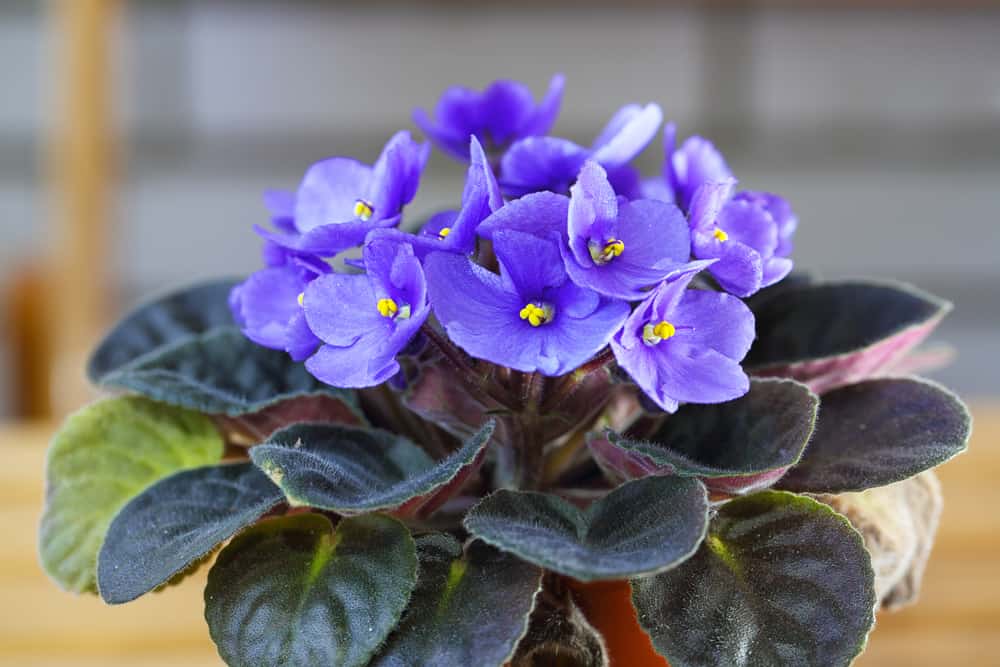
Wrapping It Up
To wrap it up, propagating African violets is a rewarding and enjoyable process. It allows you to create new plants from just one leaf. By selecting a healthy leaf, preparing it properly, and providing the right environment for root development, you can successfully propagate your African violets and expand your beautiful indoor garden. Happy planting!
FAQs
Can you root an African violet in water?
Yes, you can root an African violet in water using the traditional propagation method. Select a healthy leaf and remove it from the plant by toggling it from side to side until it pulls free. Just make sure not to pinch or bruise the leaf.
Can you grow African violets from cuttings?
Yes, you can grow African violets from cuttings. Select a firm, healthy leaf and cut it off with a sharp knife for successful propagation.
What is the best way to root African violets?
The best way to root African violets is to fill a pot with a 50:50 mix of vermiculite and coarse sand. Insert the petiole of each leaf cutting at a 45-degree angle. Firm the rooting medium around the petiole. Water the rooting medium and allow it to drain for a few minutes. Place in a bright location with medium to bright light.
How long does it take for an African violet leaf to propagate?
An African violet leaf takes 2-6 months to propagate, with new roots forming at 3-4 weeks and leaves sprouting by 6-8 weeks.
How long does it take for African violet cuttings to root?
African violet cuttings take a few days to start forming roots and can reach a length of 1-2 inches within a month.
Learn More About Propagating Houseplants!
Discover the ways of growing and propagating various houseplants! Join us on Facebook, Instagram, and Twitter for beautiful photos, plant care tips, and a community that celebrates the joy of indoor gardening.
Facebook: https://www.facebook.com/houseplantjoyblog
Instagram: http://instagram.com/houseplantjoy20
Twitter: https://twitter.com/HouseplantJoy
Let’s nurture our green spaces together!
Related Posts: