HousePlantJoy is supported by our audience. When you purchase through one of our links, we may earn a small affiliate commission. As an Amazon Associate I earn from qualifying purchases. Your cost is not affected.
==================
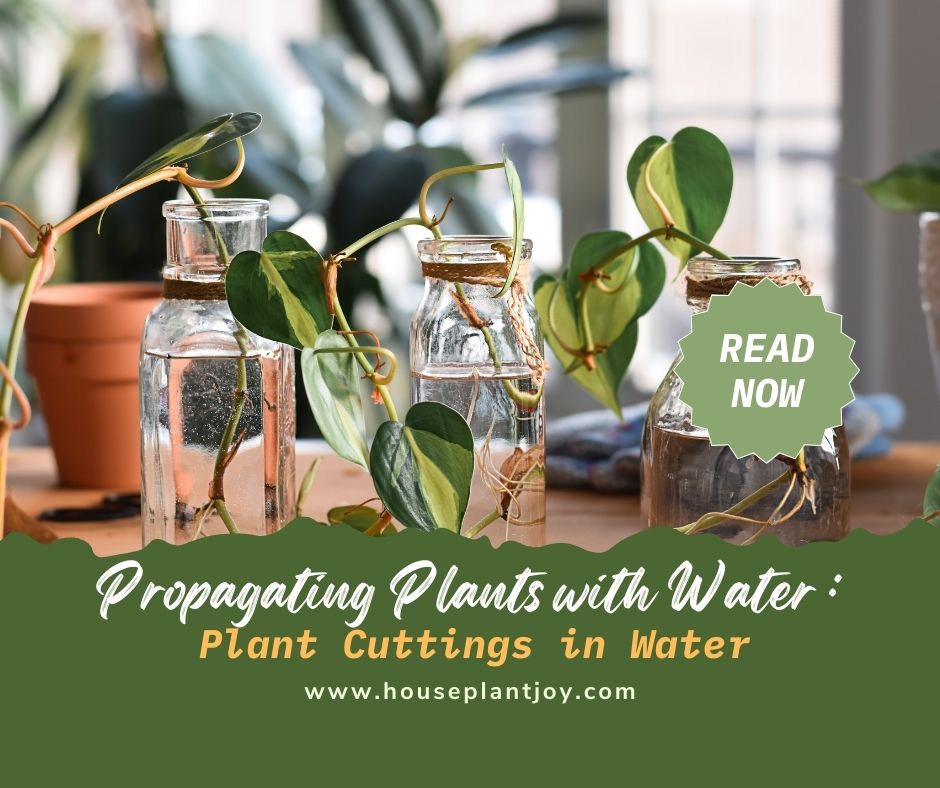
Have you ever wished you could multiply your favorite plants without spending a fortune at the nursery? Propagating plants with water is an easy and cost-effective way to create new baby plants from your existing collection. Prepare to embark on a rewarding journey of watching tiny roots grow and transform into thriving new plants!
Key Takeaways
- Water propagation is a simple and rewarding process of growing plants from cuttings.
- Successful water propagation requires research, careful selection of suitable plants, and the right conditions for root growth.
- To ensure successful transplanting into soil, provide proper care, such as adequate water and firmly packed soil, to prevent common issues like algae growth or root rot.
The Basics of Water Propagation
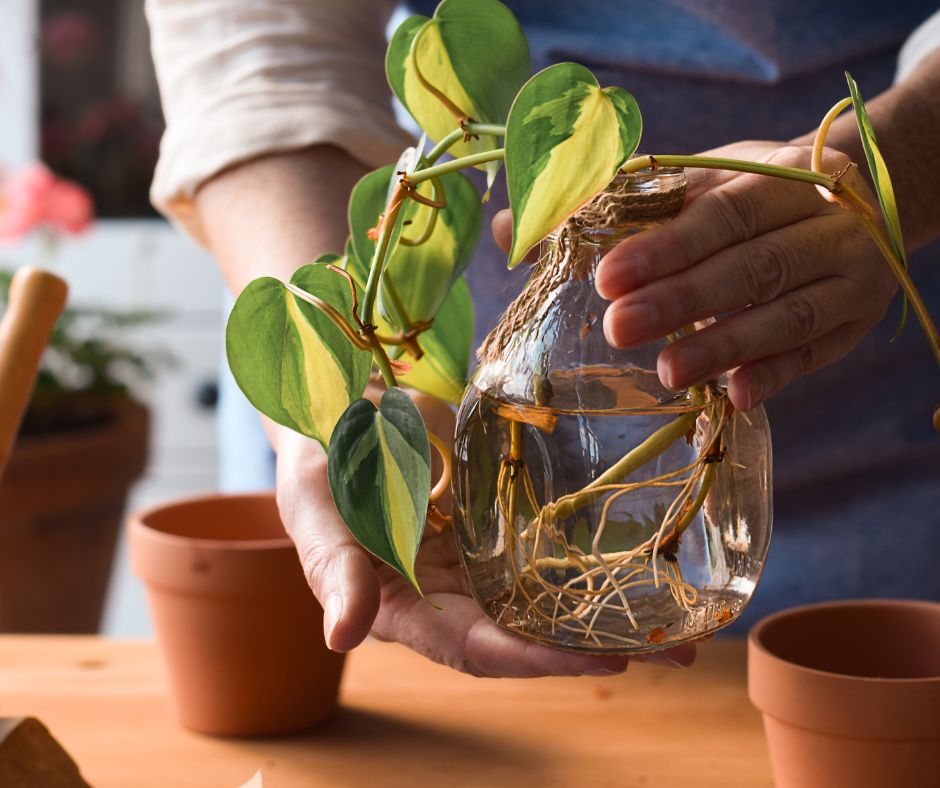
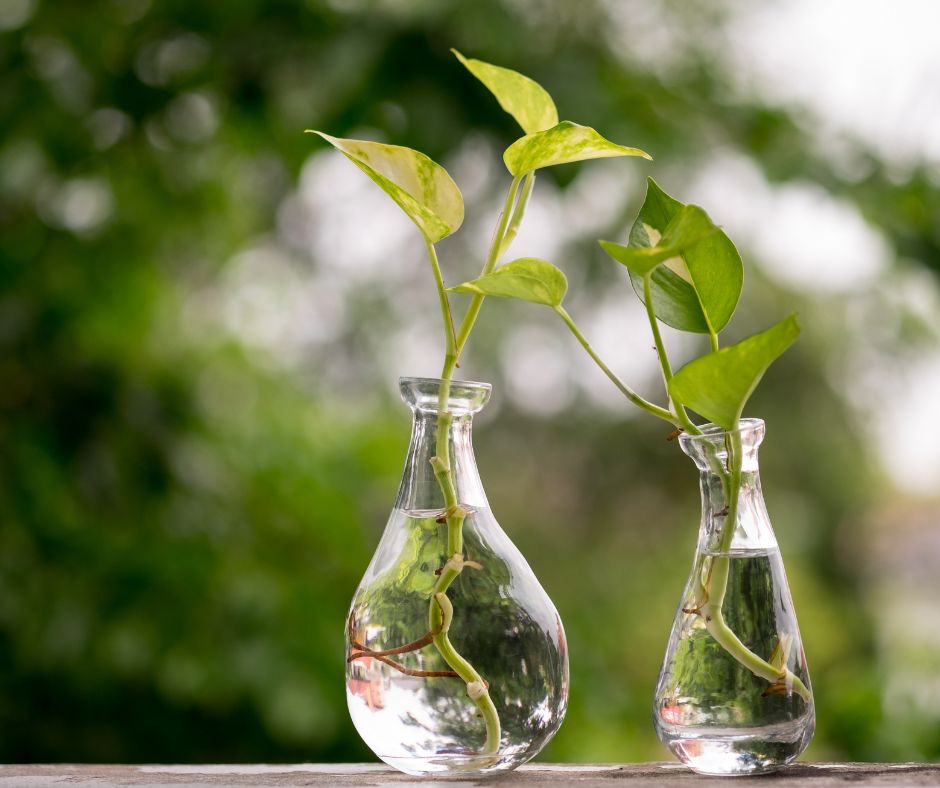
Water propagation is a fascinating process that allows you to propagate plants by placing cuttings in water until they develop roots and are ready to be transplanted into soil. This method of propagating plants is straightforward. It also offers the rewarding experience of observing your plants’ growth over time. Using this method, you can propagate many plants, including houseplants and succulents. To increase your chance of success, it’s best to conduct the process during the active growing period in spring or early summer.
Establishing a water propagation station is a straightforward process. Just follow these steps:
- Make sure to submerge the node of the cutting entirely in water for a minimum of one inch.
- Place your jar in a warm, bright area that avoids direct sunlight.
- Remember to change the water at your station approximately once a week.
With patience and proper care, you’ll soon witness your cuttings, taken from the mother plant, transform into thriving new plants like the polka dot plant.
The Science Behind Water Propagation
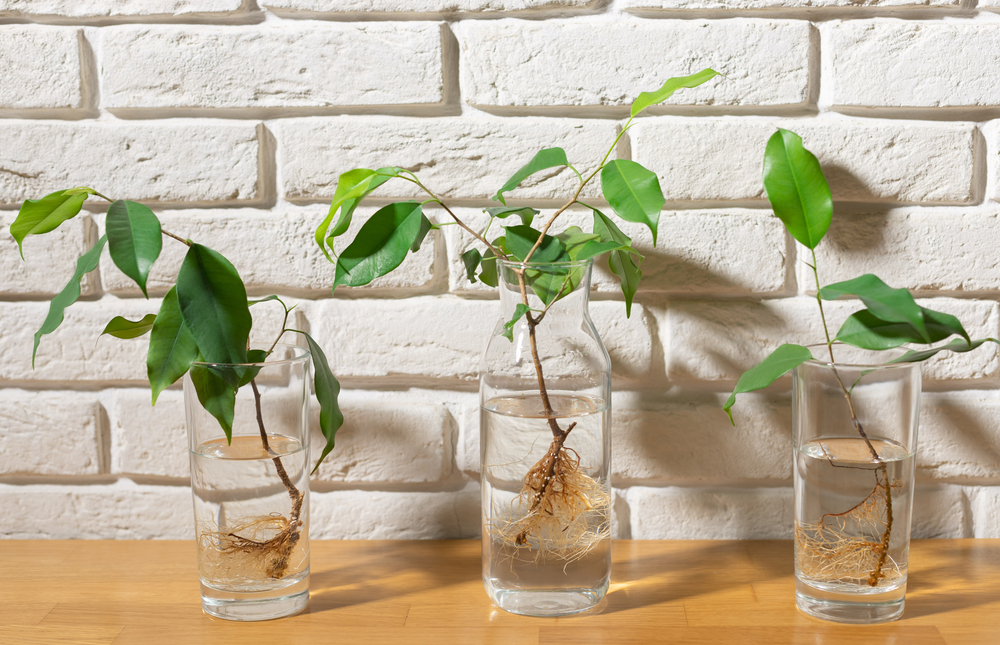
In water propagation, you’ll be placing the cuttings in water. The roots will grow from the nodes of the cutting. The success of this method heavily relies on lighting conditions. Excessive direct sunlight can damage the leaves and cause the stems to dry out. Insufficient light can impede root production, affecting the growth of the new plant. Nodes are essential for water propagation. The points from which the plant’s roots or leaves will grow from the cutting.
Maintaining sufficient lighting, such as bright indirect light, prevents problems like rot during water propagation. An experiment conducted by Matthew from TechPlant demonstrated a much higher success ratecorrect when using grow lights in propagation, especially for house plants. Correct lighting conditions allow your cuttings to bloom and develop into robust new plants.
Advantages of Water Propagation
Water propagation offers numerous advantages over traditional soil propagation. These include its ease, cost-effectiveness, and the ability to promote rapid root growth. Placing cuttings in water allows you to create baby plants from your existing collection in just a few weeks. The method eliminates the need for soil and reduces the requirement for rooting hormone. This results in new baby plants at a minimal cost.
Selecting an appropriate container is essential for successful water propagation. The right container ensures the cutting remains in place without toppling over and promotes robust root development. With proper preparation and care, water propagation can be a rewarding and cost-saving method to expand your plant collection.
Greetings! Within this article, we’ve curated a selection of products tailored to assist you with your water propagation endeavors. We invite you to explore these recommendations by clicking on the provided affiliate links to find the solutions that best suit your needs. #ads #comissionsearned
Selecting Suitable Plants for Water Propagation
Choosing suitable plants for water propagation significantly influences the success of this process. Many common houseplants and succulents, such as the snake plant, develop roots when you propagate them in water. Nevertheless, it’s worth mentioning that propagating certain plants in water may present more challenges than others. But with some research and patience, you can successfully bear most plants in water. Tropical plants like Peace Lily, Watermelon Peperomia, and Dieffenbachia are just a few plants that reproduce well in room-temperature water.
The age of a plant also plays a significant role in its suitability for water propagation. Younger plants, particularly those with actively growing stems, are more likely to root successfully in water than older plants. This is due to the fact that they have higher levels of auxins, hormones that stimulate root growth, and healthier tissues.
Consider these factors when selecting all the plants for water propagation, including others. You’ll be well on your way to growing a thriving collection.
Identifying the Right Plant Parts
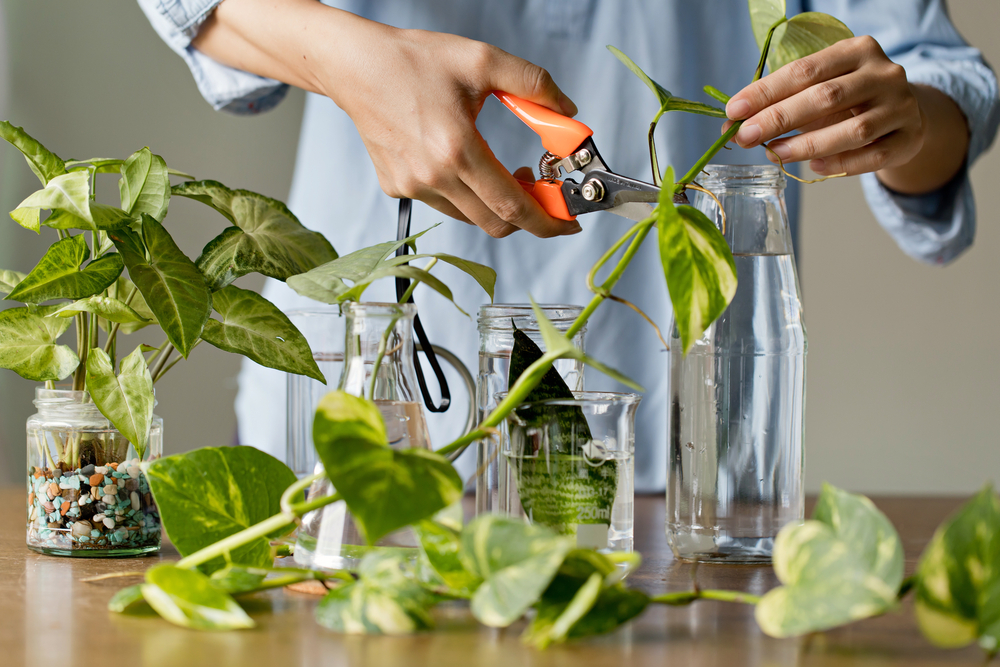
Understanding which plant parts to use for water propagation is vital for success. Nodes are the most suitable plant parts for water propagation. They are the points from which roots or leaves will grow from the cutting. When selecting a healthy stem for water propagation, look for a mature stem with nodes or leaves free from any signs of disease or damage. Cut the stem below a node using clean, sharp scissors or pruning shears. Make sure to include a node or two with the cutting.
If you select a leaf for water propagation, ensure it appears healthy and free from browning or damage. Succulent leaves, such as those from Kalanchoe, Echeveria, and Crassula plants, flourish because of water propagation. By selecting the right plant parts, you’ll maximize your chances of successful propagation and enjoy an expanding collection of beautiful plants.
Transitioning from Water to Soil
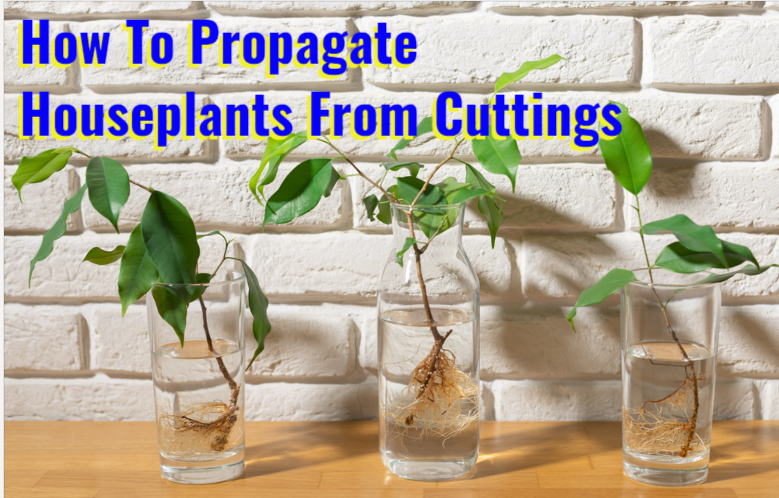
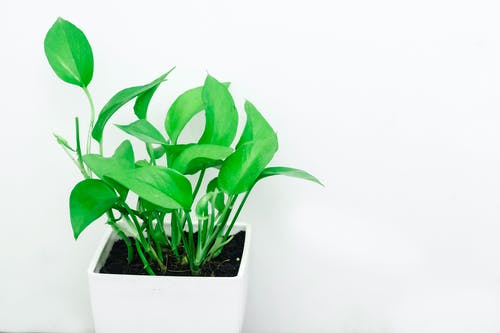
After your water-propagated plants have grown a healthy root system, they are ready to be transitioned to soil. Signs that your plant is ready for soil include roots reaching a length of 1-2 inches or more, the water becoming cloudy, or the appearance of new growth. Use a pot with drainage holes and a potting mix to ensure a successful transplant. Water the plant after transplanting to help it grow roots in the new medium.
A potting soil and perlite mixture is ideal for plants grown in water. This provides excellent drainage. While transitioning a plant from water to soil, start by watering it more than usual and slowly reducing the amount of water over time.
Following these guidelines, you’ll successfully transition your water-propagated plants into thriving, soil-grown specimens.
Signs Your Plant Is Ready for Soil
You can gauge a water-propagated plant’s readiness for soil transplanting by developing its growing roots. If the plant has developed a healthy root system in water, it is a sign that you can now transfer it to soil for further growth. It would be best if you transplantedthe roots’ length and most cuttings into the soil when the roots are approximately one to two inches long. This ensures a successful transition.
It’s important to consider not only the roots’ length but also the plant’s overall health. Before transplanting the plant to the soil, look for any signs of stress, such as wilting or discoloration. By paying attention to these signs, you’ll know when your water-propagated plant is ready for its new life in the soil.
Tips for Successful Transplanting
While transitioning a water-propagated plant to soil, assisting the plant to adjust to its new environment is critical. Here are some steps to follow:
- Start by providing the plant with more water than usual and gradually reduce the amount of water over time.
- Ensure that the soil is firmly packed around the plant.
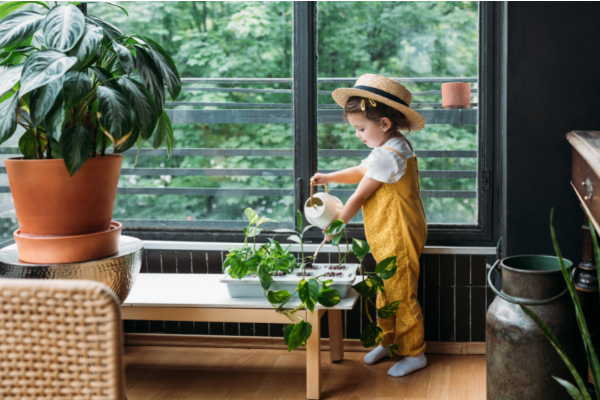
- Water the plant gently using the ‘garden’ or ‘flower’ setting on a watering nozzle.
Monitoring the plant for signs of stress, such as wilting or discoloration, and adjusting the watering schedule accordingly can be beneficial when providing ongoing care. By following these tips and providing proper care, your water-propagated plants will successfully transition to soil and continue to thrive.
Troubleshooting Common Water Propagation Issues
Despite having the best intentions, you may need help with water propagation. Common mistakes include failing to replace the water regularly, using unsanitary containers, and not providing adequate lighting. Regularly changing the water, using clean containers, and providing sufficient lighting can prevent these issues.
Addressing these common water propagation issues and adjusting your care routine accordingly’ll set the stage for successful plant propagation. Remember, patience is vital, as new plants do not grow in a few days, and some plants can take a long time to root.
Dealing with Algae Growth
Algae growth can be a common issue in water propagation containers. This leads to green water, green deposits on the roots and container, and green slime growing on the surface or sides of the soil. Factors contributing to algae growth include warm water temperature, turbidity, and the presence of free mineral nutrients on the surface of the propagation substrate.
Changing the water every 1 to 2 weeks or every 2 to 4 weeks, per your plants’ needs, can prevent and control algae growth. Here are some practical methods for controlling algae in water propagation systems:
- Introducing aeration
- Lowering the pH of the water
- Implementing filtration and barriers
- Using a flushing flow technique
- Adding oxygen to the bottom layers of the pond
Your water propagation station will remain clean and healthy by managing algae growth. This promotes successful plant growth.
Managing Root Rot
Root rot in water-propagated plants is a condition in which the roots decay due to excessive moisture and lack of oxygen. You can identify root rot by discolored roots, a foul odor, wilting or yellowing leaves, and stunted growth. Causes of root rot may include bacterial buildup, inadequate oxygenation, and extended periods of sitting in saturated soil.
Managing root rot involves regular water changes, trimming any rotten parts of the roots with sterilized scissors, and ensuring proper oxygenation for the plant. Following these guidelines and providing proper care can prevent and manage root rot in your water-propagated plants. This ensures their continued growth and health.
Step-by-Step Guide to Water Propagation
To begin your water propagation, gather the necessary materials. These include drinking glasses or jars, clean scissors or gardening shears, tap water, and mature houseplants or fresh plant cuttings.
Next, follow these steps to prepare your plant cutting for water propagation:
- Inspect the cutting for roots.
- Clear away any debris around the roots.
- Set up a glass jar or container for the cuttings.
- Monitor the cuttings as they develop.
Creating a water propagation station is straightforward:
- Fill a glass jar or container with tap water.
- Submerge the plant cutting in the water.
- Remember to change the water thoroughly once a week to maintain the health of your cuttings.
Following these steps and providing proper care, you’ll soon witness your cuttings transform into thriving new plants.
Preparing Your Plant Cutting
To prepare a plant cutting for water propagation, follow these steps:
- Choose a healthy stem or cutting with at least two nodes and two leaves.
- Cut the stem below a node using clean, sharp scissors or pruning shears.
- Remove any leaves close to the node that you may submerge in water.
- Place the cutting in a water container, ensuring the nodes are submerged.
Choosing a leaf for water propagation requires attention to detail. The leaf should not be squishy or have a bad smell. This may indicate root rot. Look for a healthy appearance without any browning or damage. Selecting the right plant parts and providing proper care will increase your chances of successful water propagation.
Setting Up Your Water Propagation Station
Establishing a water propagation station begins with selecting an appropriate container. You can use various containers, such as recycled kitchen containers, clear glass or plastic containers, or commercial self-watering systems. The container should be clean and have adequate depth to hold the cuttings and water. Fill the container with tap water and insert the plant cutting, ensuring the nodes are submerged.
The location of your water propagation station is crucial for the growth of your cuttings. Place the station in a warm, bright area that avoids direct sunlight. By setting up your water propagation station correctly, you’ll create an environment that encourages the development of healthy roots and new plant growth.
Monitoring and Maintenance
Regular monitoring and maintenance are essential for the success of your water-propagated plants. Here are some tips to follow:
- Change the thoroughlyletely once a week.
- Check the water level regularly to ensure the plant’s growth points and new roots are not exposed to air.
- Proper water maintenance prevents root rot and promotes healthy root growth.
Keep an eye on the lighting conditions as well. Providing adequate lighting is crucial for the success of your water-propagated plants. By monitoring and maintaining your water propagation station, you’ll be well on your way to successfully growing new plants from cuttings.
Again, like we mentioned earlier, here are our quality goods carefully chosen to assist you in your water propagation endeavors. Feel free to explore these recommended items through the provided affiliate links to find the perfect solutions for your needs. #ads #comissionsearned
Wrapping It Up
Water propagation is an easy and cost-effective way to expand your plant collection. By understanding the basics, selecting suitable plants, following a step-by-step guide, and troubleshooting common issues, you’ll be well on your way to growing a thriving collection of beautiful plants. Embrace the joy of water propagation and watch your plants grow and flourish!
FAQs
Can you just put cuttings in water?
Rooting plants in water is a great way of propagating new plants. Simply snip a cutting from the base of the leaf, remove the lower leaves, and place it in fresh spring water. Change out the water every 3-5 days and wait for your roots to grow! When the root clusters reach 1-2 inches long, you can transfer them into soil.
How long do cuttings take to root in water?
Cuttings typically take 3-4 weeks to root in water, but it may vary depending on the plant. Be sure to add fresh water as needed and look for roots that are 1-2 inches long before potting up.
How long can you leave plant cuttings in water?
Plant cuttings can remain in water indefinitely as long as they are provided with the necessary nutrients.
What plant cuttings will root in water?
Many indoor houseplants, such as begonias, coleus, polka dots, ivies, and philodendrons, will easily root in water. However, woody plants, like hibiscus and citrus, tend to rot before rooting.
Can all plants be propagated in water?
Many common houseplants and succulents can be propagated in water. However, some may be more challenging to do so. Research the specific plant you’re attempting to propagate to determine the most effective method.
Learn More About Propagating Houseplants!
Discover the ways of growing and propagating various houseplants! Join us on Facebook, Instagram, and Twitter for beautiful photos, plant care tips, and a community that celebrates the joy of indoor gardening.
Facebook: https://www.facebook.com/houseplantjoyblog
Instagram: http://instagram.com/houseplantjoy20
Twitter: https://twitter.com/HouseplantJoy
Let’s nurture our green spaces together!
Read More

