HousePlantJoy is supported by our audience. When you purchase through one of our links, we may earn a small affiliate commission. As an Amazon Associate I earn from qualifying purchases. Your cost is not affected.
==================
Grow Salad Indoors: Lettuce, Microgreens, and Sprouts
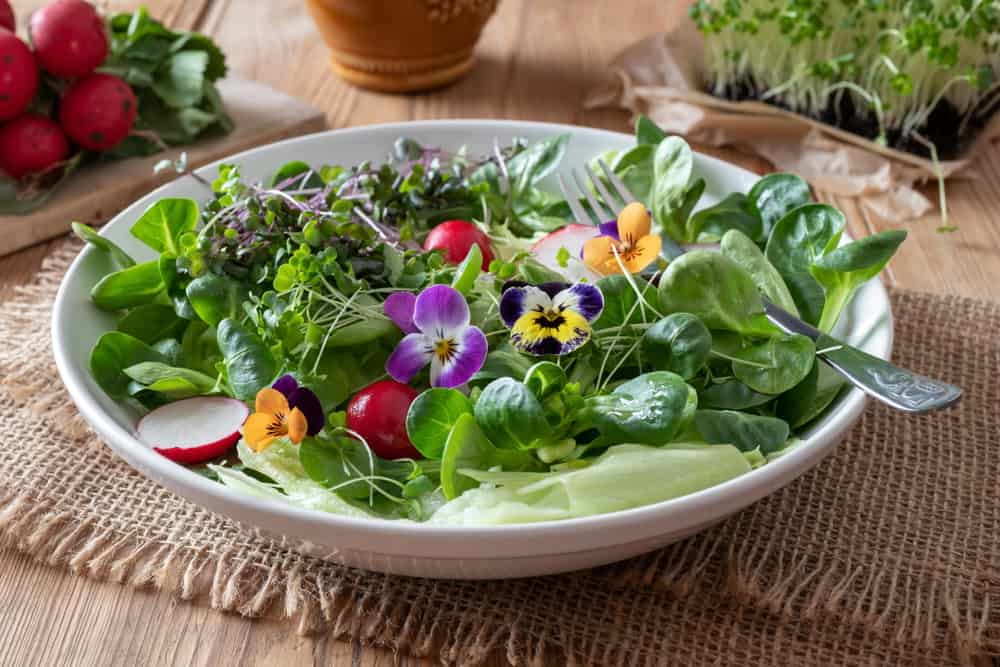
Looking for an edible houseplant? Consider this. Increasingly, people opt to grow salad indoors! Growing lettuce, microgreens, sprouts, or a mixture, you produce a beautiful and healthy salad to enjoy. And, it grows with ease.
You may already know the health benefits of eating more fresh greens. In fact, studies show the amazing results from plant-based eating with an emphasis on vegetables such as greens.
Now consider the benefits of enjoying that fresh salad minutes after harvesting it. One report in the Chicago Tribune explained the great loss of nutrients that starts at harvesting. Additionally, most of us notice a flavor difference.If you live in a year-round gardening climate and have outdoor space, you might grow your own salad greens and other vegetables. However, for most people, this isn’t possible. But growing greens indoors almost always fits our lifestyle and homes.
An added bonus for those with children: they often choose to eat foods they have helped grow. Imagine your child happily enjoying a fresh-picked salad! Then take it a step further with a homemade salad dressing.
Now that you can almost taste your home-grown creation, let’s see how to begin.
Begin with Sprouts
Yes, I suggest beginning with sprouts as you grow salad indoors. Put simply, sprouts help you get your feet wet in indoor gardening. Most grow easily and they are ready to harvest in days, depending on the variety. Sprouts require no soil and no fertilizer to grow.
Sprouts can be grown in a jar or on a tray. Our choice usually depends on the type of seed we are using, but the process is similar with either.
The Tray Method
- Use a sprouting tray such as those found here.
- Soak seeds about 8 hours
- Transfer to tray and spread evenly
- Rinse and drain twice a day, making sure all the seeds are rinsed well
- Allow sprouting until they have 1/4 to 1-inch tails.
- Broccoli, alfalfa, and clover sprouts are best when allowed to “green”, a process that generates chlorophyll through photosynthesis, giving sprouts added color and nutrients.
- to green, simply expose to sunlight for a few hours
- Enjoy immediately or dry on a paper towel to store in an air-tight container up to several days
The Sprout Jar Method:
- You can use a quart or half-gallon canning jar with a sprouting lid or find sprouting jars here.
- For a quart jar, we use ¼ cup of small seeds or ½ cup of large (double the seed amount for a half-gallon jar). Pour seeds in the jar then fill with water and let soak for 8 hours.
- Drain out all the soak water. Place the jar in a bowl out of direct sunlight to drain. Ensure it has good airflow. Stagnate air causes sprouts to spoil.
- Rinse seeds 2-3 times daily. Drain the water by keeping the jar at an angle This also allows air to flow in and out of the jar through the sprouting lid.
- When sprout “tails” are between ¼ and 1 inch in length, they are ready to eat. Rinse thoroughly and enjoy!
- Follow greening as explained in the tray method for alfalfa, broccoli, and clover.
- Store sprouts up to several days by drying with a paper towel and placing them an air-tight container in your vegetable bin.
- Note: you will eat the entire sprout, root and all. It’s delicious!
freshly cut microgreens
Now try Microgreens
Think of microgreens as a step between sprouts and greens. While they take a few more days (usually 7-10 days) longer than sprouts, they are still easy to grow.
You can grow them hydroponically on a soilless media or even with no media for some varieties, but beginners often find using a good potting mix helps build success. You will plant them (essentially scatter the seeds) on the top of damp media, lightly cover, and keep them moist. It’s possible to grow them by misting the top surface when needed. However, we prefer to set up bottom watering. To do this, we set up two trays. The top one has holes to allow the water to drain and wick. The bottom tray has a solid bottom. It holds the water until the plants need to wick it up to the roots.
You can design this system from odd items around your home. However, very reasonably priced trays or containers can be purchased. Growing soilless is also easy with these trays. Using products like baby’s blanket, stg, burlap, or even paper towels, your seeds will grow and flourish. Harvest microgreens when the first true leaves emerge for the best flavor.
Note: Microgreens are harvested by cutting above the soil line, leaving the roots behind. Some microgreens will regrow, giving you multiple crops from one seeding!
Grow Salad Indoors: The Lettuce
We suggest you start with a simple salad blend, then add new varieties as you taste and explore. One such mix might be a blend of lettuces grown to baby leaf size. At this stage, they contain strong nutrients and are quite sweet and flavorful.
Baby lettuce takes less space than full-size heads, but of course, it also produces less food. For indoor growing, it is often the best choice, however, this is your garden, you decide.
Many types of lettuces and greens can be grown as “cut and come again.” That means you cut off what you need and it will regrow time and time again. However, you will probably notice that the regrowth is a bit less over time. Still, this is a good way to have your edible houseplant and eat it, too!
One mix we especially enjoy is the “mesclun” which consists of a variety of compatible greens. Plant the seeds a bit further apart to allow plenty of air to circulate. Some people prefer to plant as for microgreens, then thin to use the microgreens, leaving the rest to grow into lettuce.
Lettuce will require a small amount of fertilizer unless you are using a fertilizing potting soil. Since it grows quickly, the greens require less fertilizer than some vegetable crops. However, they need a lot of water. In fact, lettuce and other greens are frequently grown hydroponically without soil.
With your greens growing, you might want to consider adding other edibles. Look for our future articles on edible flowers and edible herbs, too!


